Turn on suggestions
Auto-suggest helps you quickly narrow down your search results by suggesting possible matches as you type.
Showing results for
- Republic of Gamers Forum
- Discussions
- Case Mods & PC Builds
- Re: [Build Log] X7900D Corsair 900d with the First...
Options
- Subscribe to RSS Feed
- Mark Topic as New
- Mark Topic as Read
- Float this Topic for Current User
- Bookmark
- Subscribe
- Mute
- Printer Friendly Page
[Build Log] X7900D Corsair 900d with the First LED Midpanel
Options
- Mark as New
- Bookmark
- Subscribe
- Mute
- Subscribe to RSS Feed
- Permalink
06-13-2013
08:32 AM
- last edited on
03-06-2024
07:24 PM
by
![]() ROGBot
ROGBot
Hey ROG and Welcome to My first build log
Working Title for this project is x7900D because it is an x79 system in a Corsair 900d!
i was fortunate to get the 900d form one of the first shipments from ******, This case is huge! i've never seen any case this big before in person!
I got lucky with a lot of these parts, finding them on craiglist or **** for cheap.
The Specs:
Motherboard: Asus RIVE
Processor: I7 3930k
SSD- OCZ Vertex 4 256 x 2 in Raid 0
PSU- Corsair ax1200
Case- Corsair 900D
Ram- Kingston Hyper x 1600mhz x 32GB
GPUs- Evga Titans
The Cooling:
Coolgate 480 Rad
Coolgate 360 Rad
EK Supremecy
EK Titan Blocks
Ek 250 res
Ek Res/Pump combo
Switfech MCP655
1/2" fittings
a ton of Corsair AF and SP fans
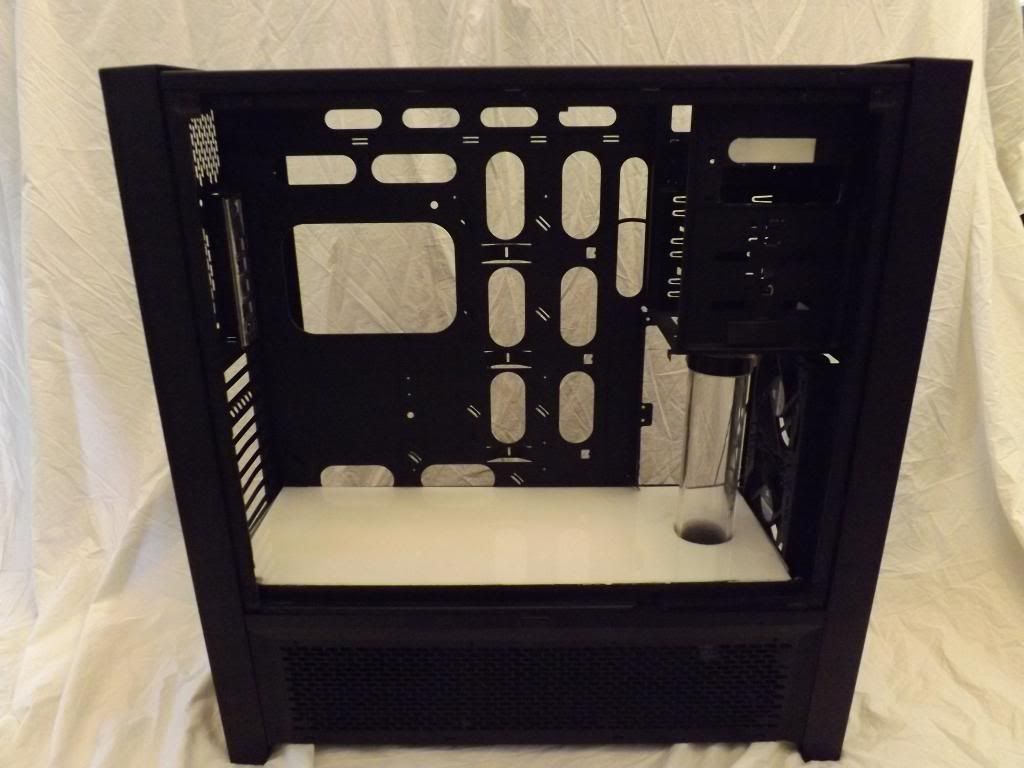
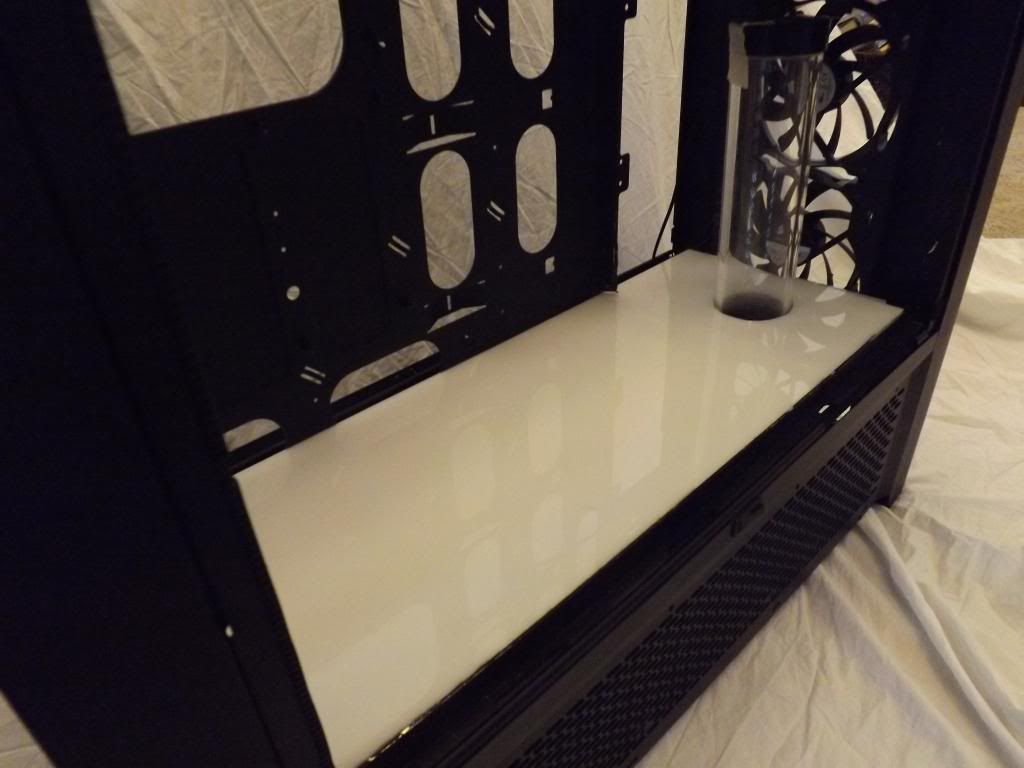
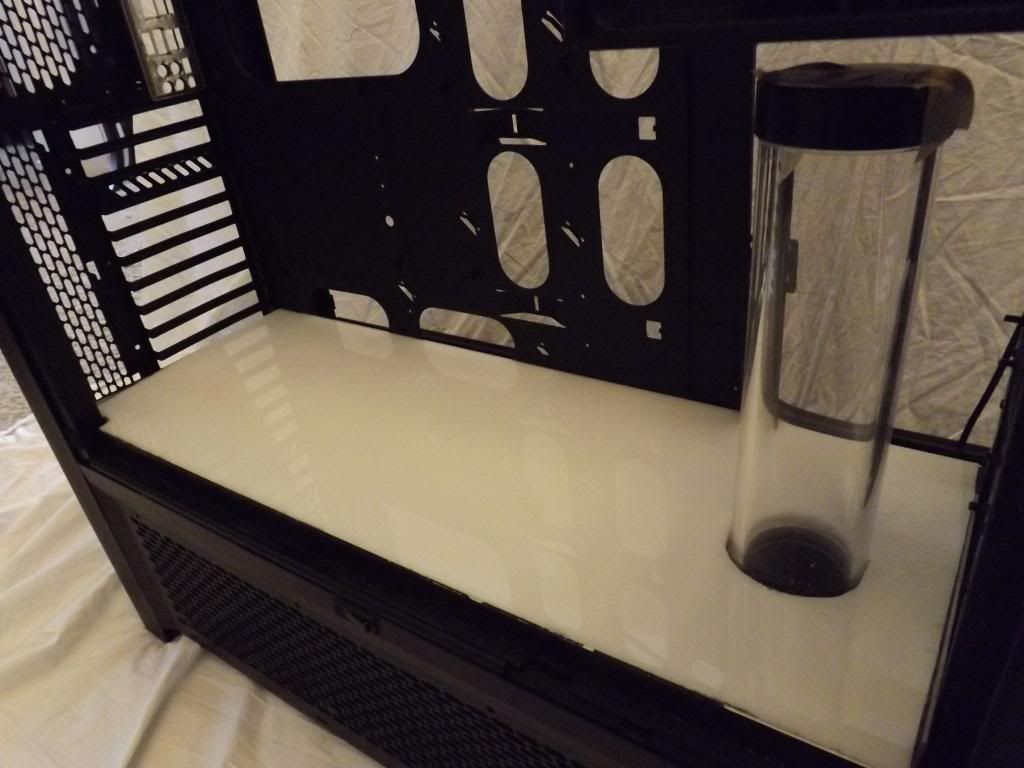
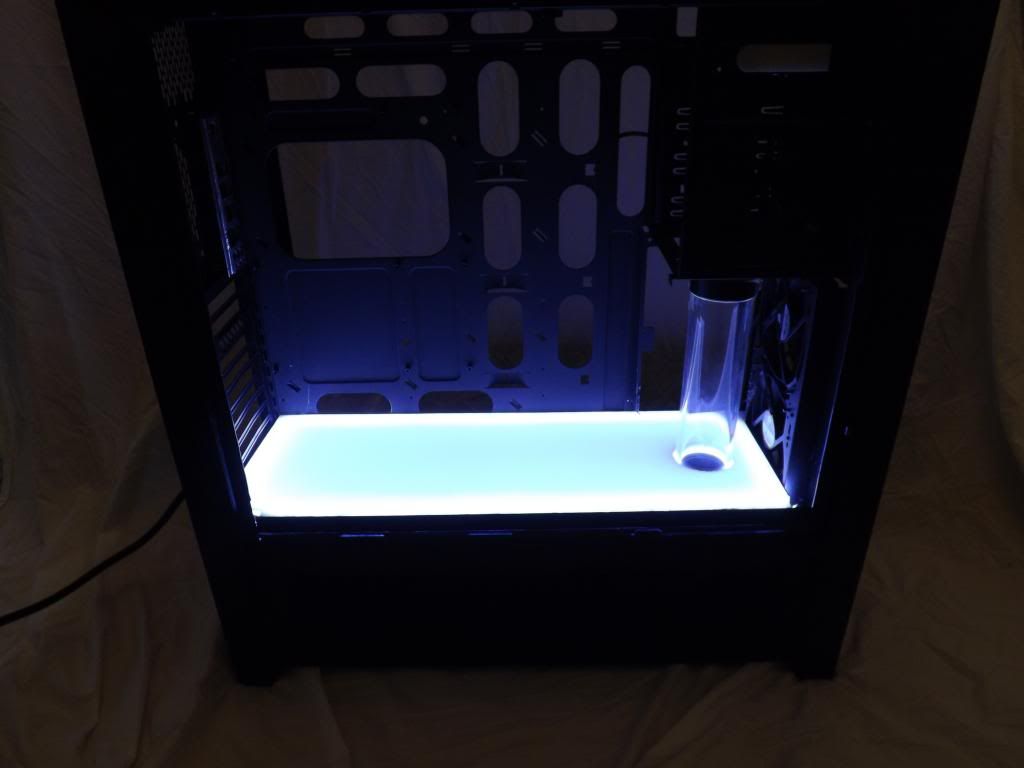
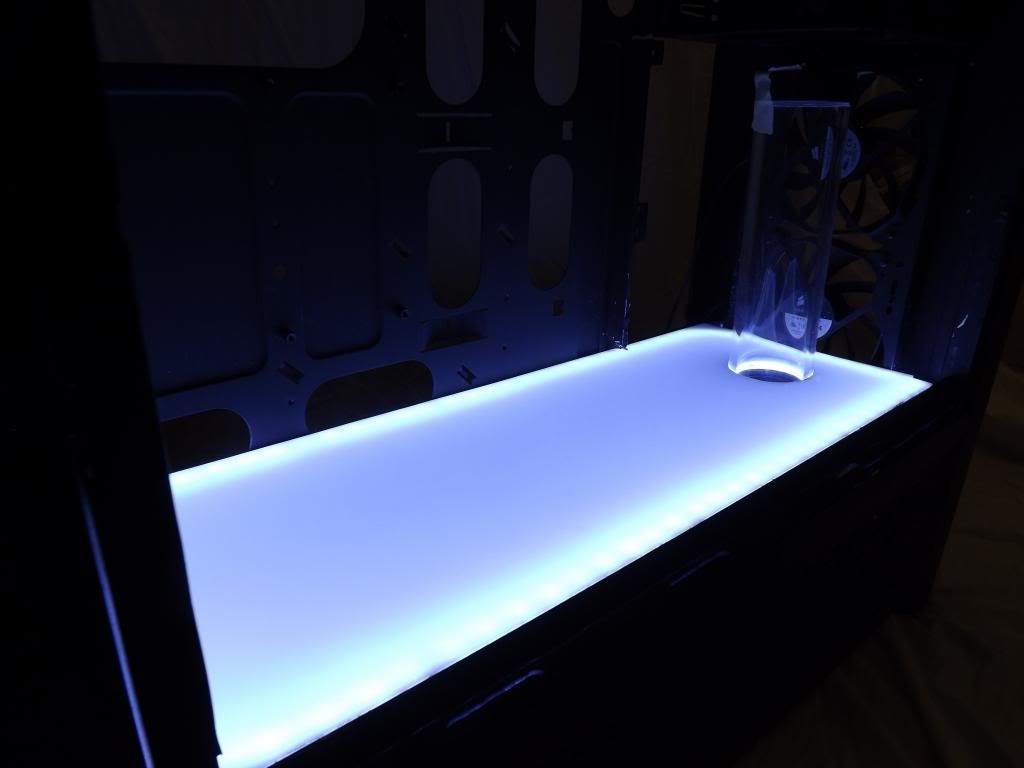
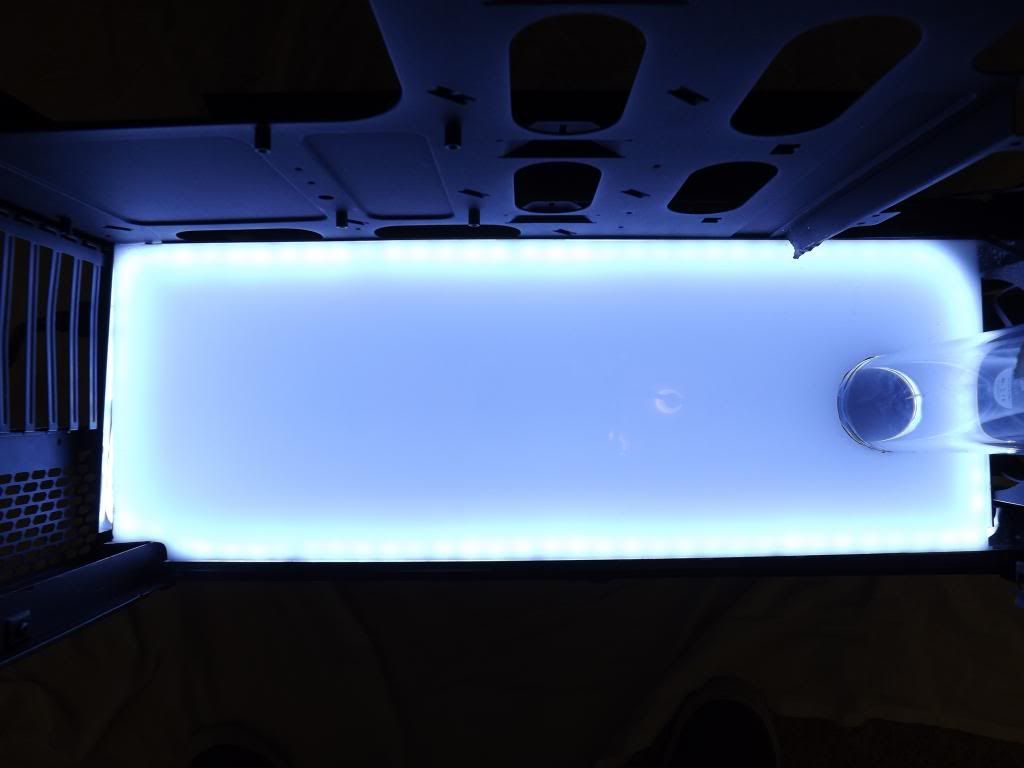
now for some pictures. This is my first time trying to take nice photos so please dont hate on me too hard. i used my bed sheet that is wrinkled and my iphone 😄
This case is massive!


Now, i've always wanted a Asus Rampage board but i hate the red and black color scheme, i was so happy to see the Black RIVE only to find out it wasnt a production product, so i painted mine! i didnt get too deep into the RAM slots because they wouldnt be visible


Heres the CPU

Corsair AX1200- my Neighbor gave this to me for free!

This is just half of the fans! i have a total of 17 fans i think?

Ram


Coolgate 480


SSDs, these already had the OS on them so i had to make sure i kept them in the right order

Pump- this thing was way bigger than i thought (thats what she said :D)

EK res

and one of two Titans

230 Views
23 REPLIES 23
Options
- Mark as New
- Bookmark
- Subscribe
- Mute
- Subscribe to RSS Feed
- Permalink
06-17-2013 09:47 AM
UPDATE Time.
things are starting to finally come together, i had a good bit of time this weekend to sit down and crank out the work!
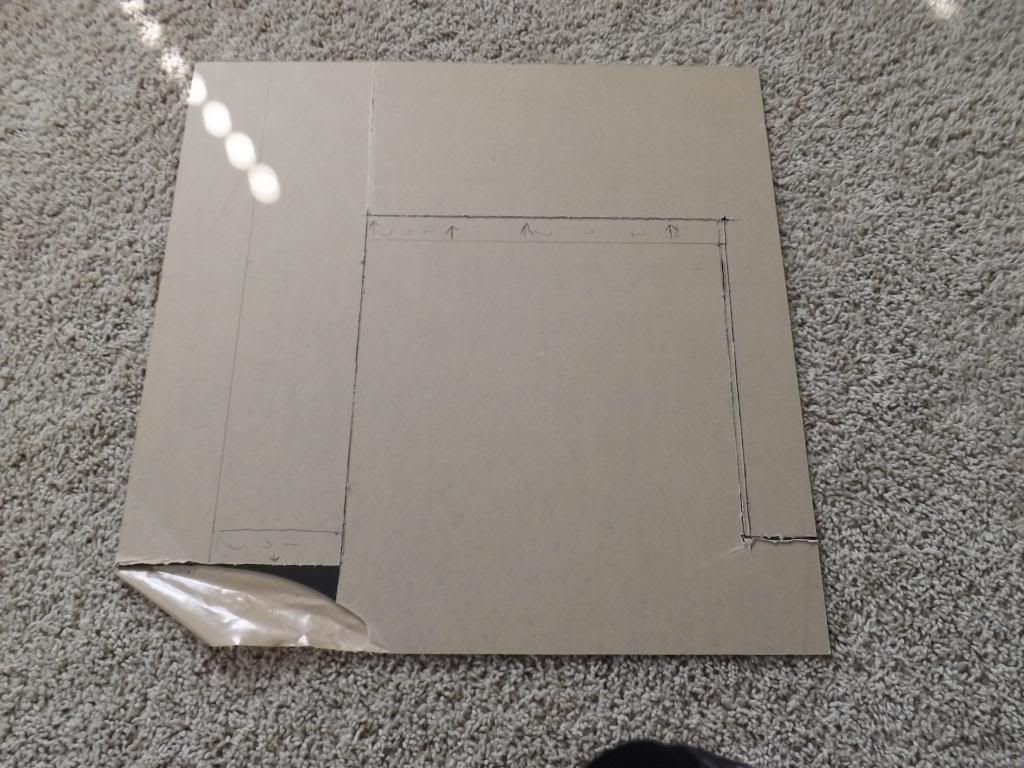
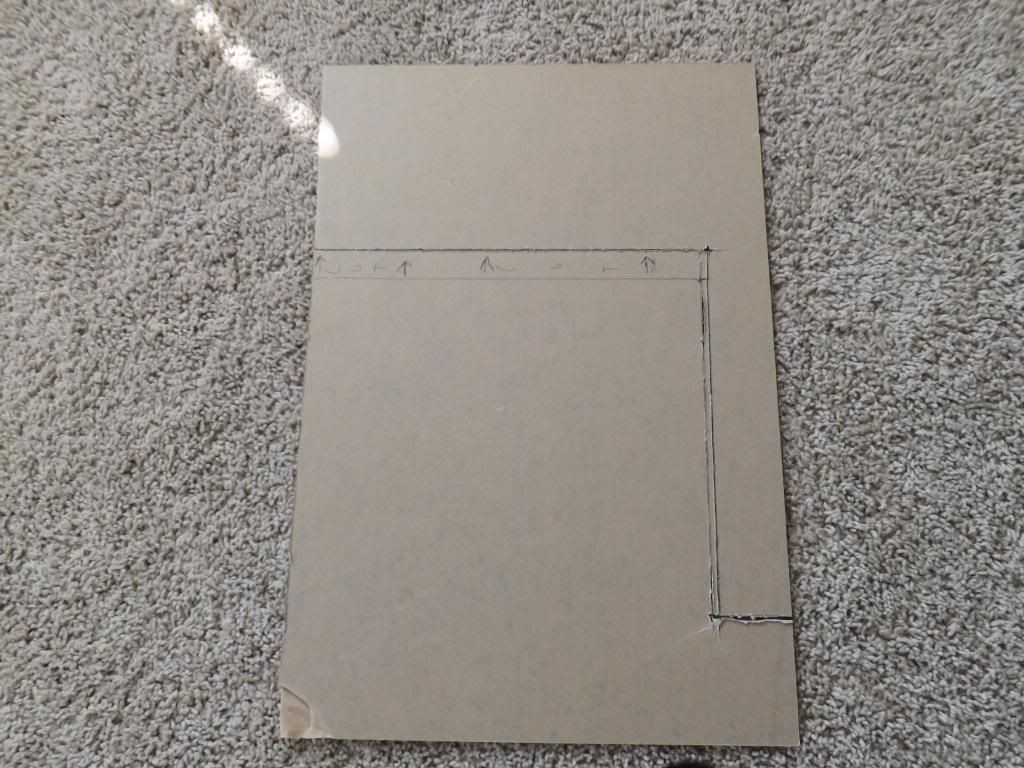
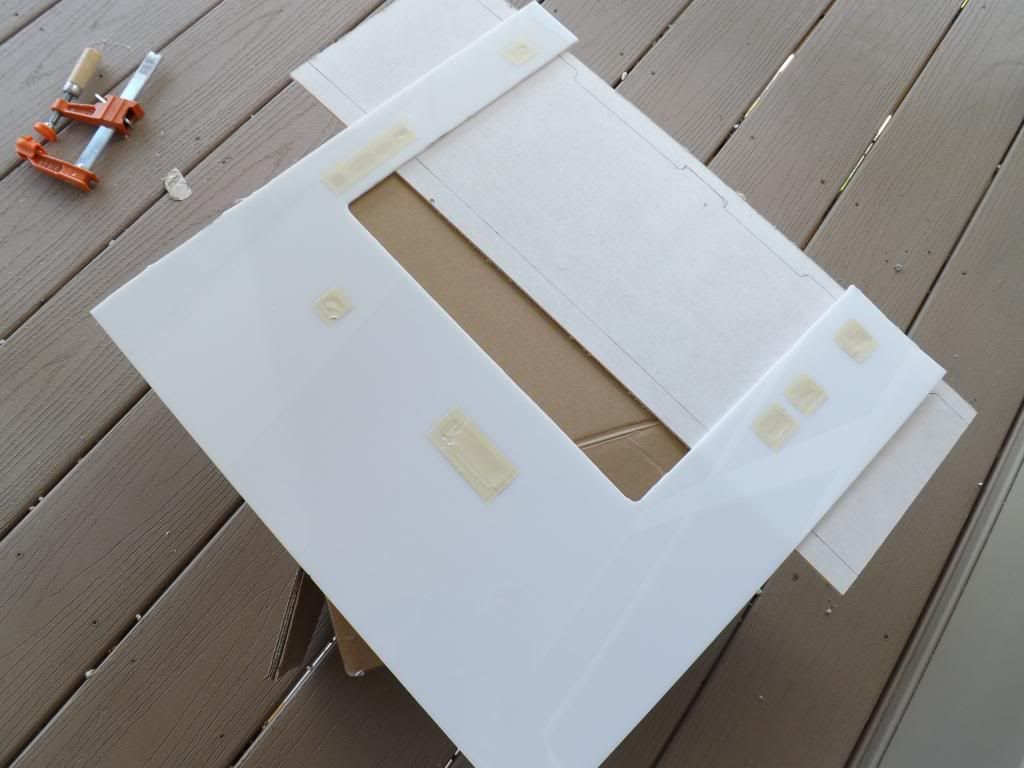
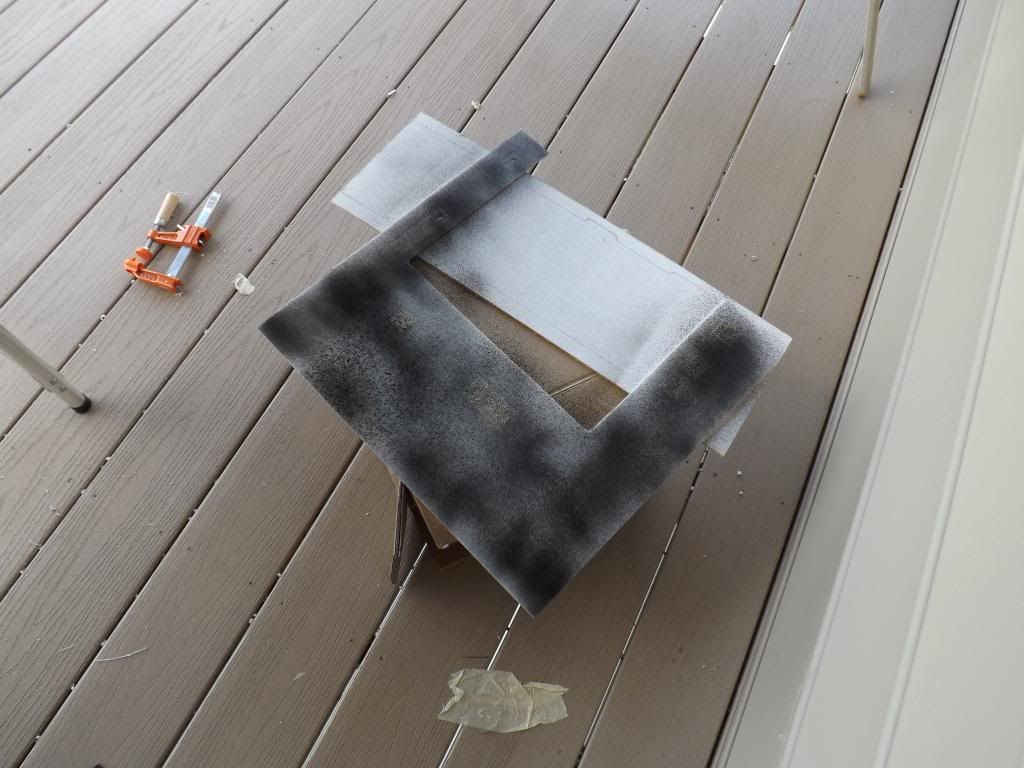
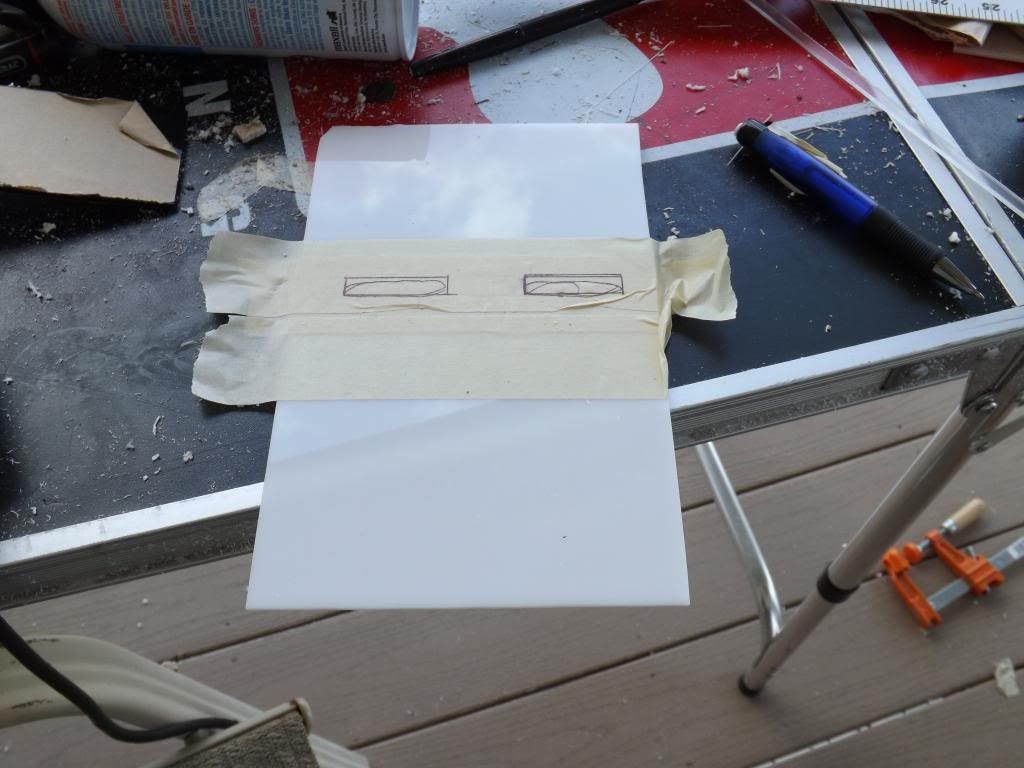
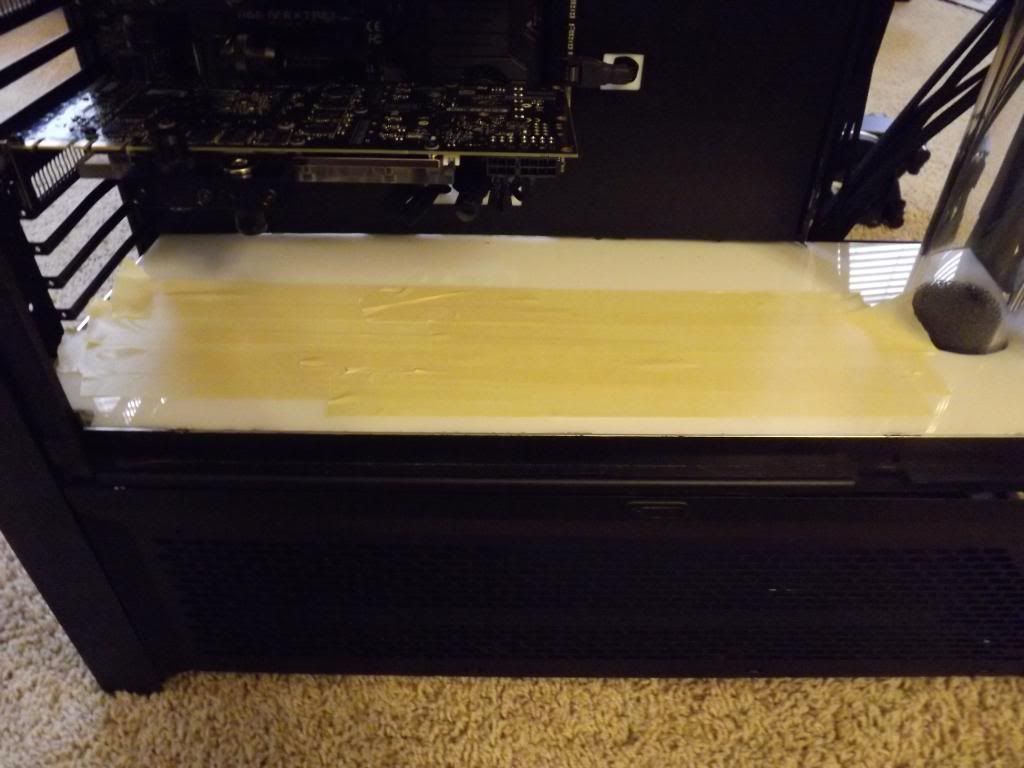
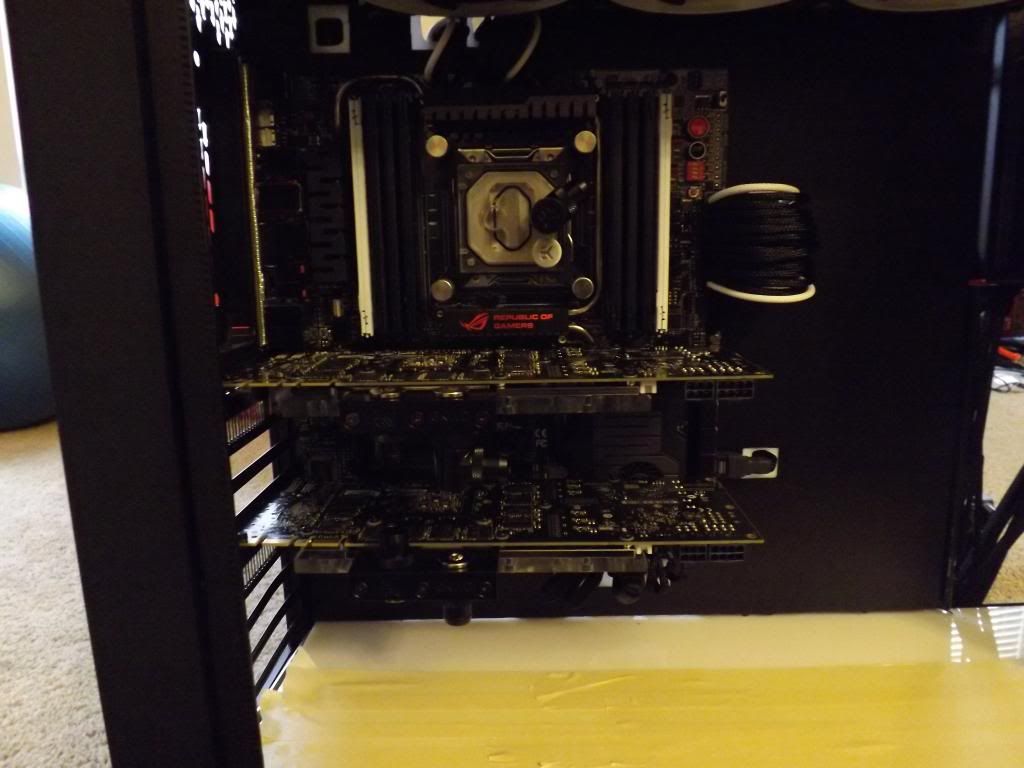
First copied my template over to the white plexi and cut it out. i also marked and cut holes for the cables

Once that was complete, it was time to cut the black plexi piece, so i transferred the template over. and scored it
but when i went to snap it it broke :mad: :doh:
so now that piece is ruined. but not to fear i have an idea to get me close to where i wanted to be!
so i did some masking
and bought out my trusty friend PLASTI DIP!!! i love this stuff
tacked it up
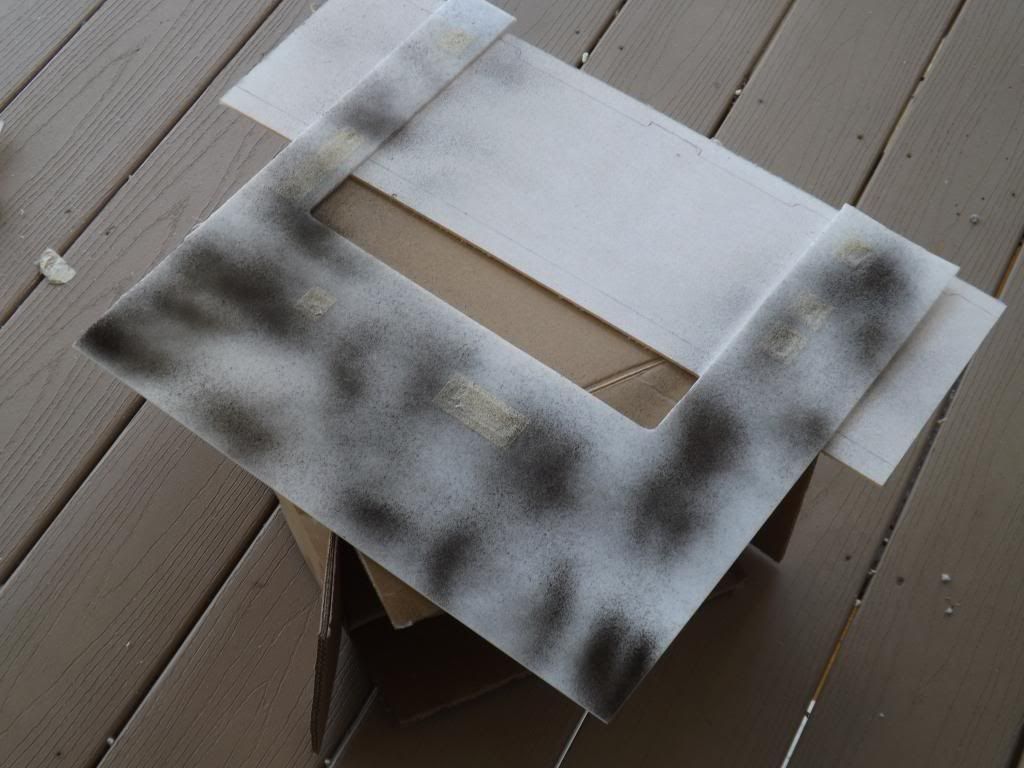
layer 2
layer 3,4,5,6!

peeled the tape off, and there ya go! not exactly how i had it planned but until i take the measurements and what not for the black plexi piece, this will do.
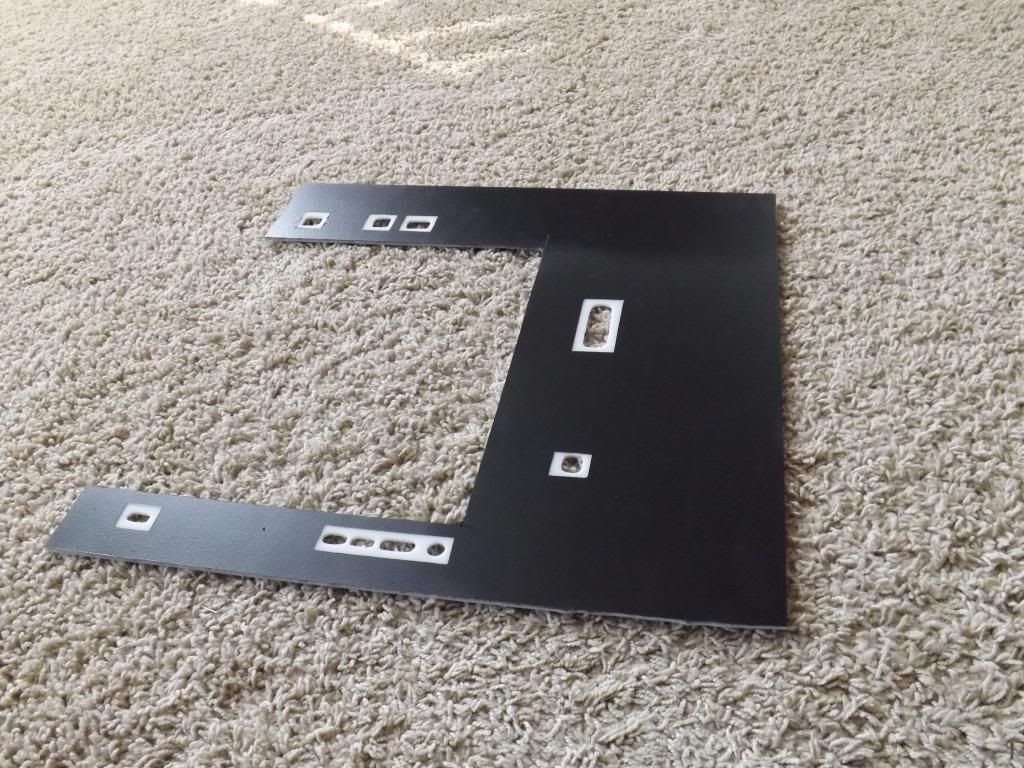
oh in the mean time while the paint was drying, i decided to redo the ssd panel. the carbon got all dirty and i wasnt happy with the cuts
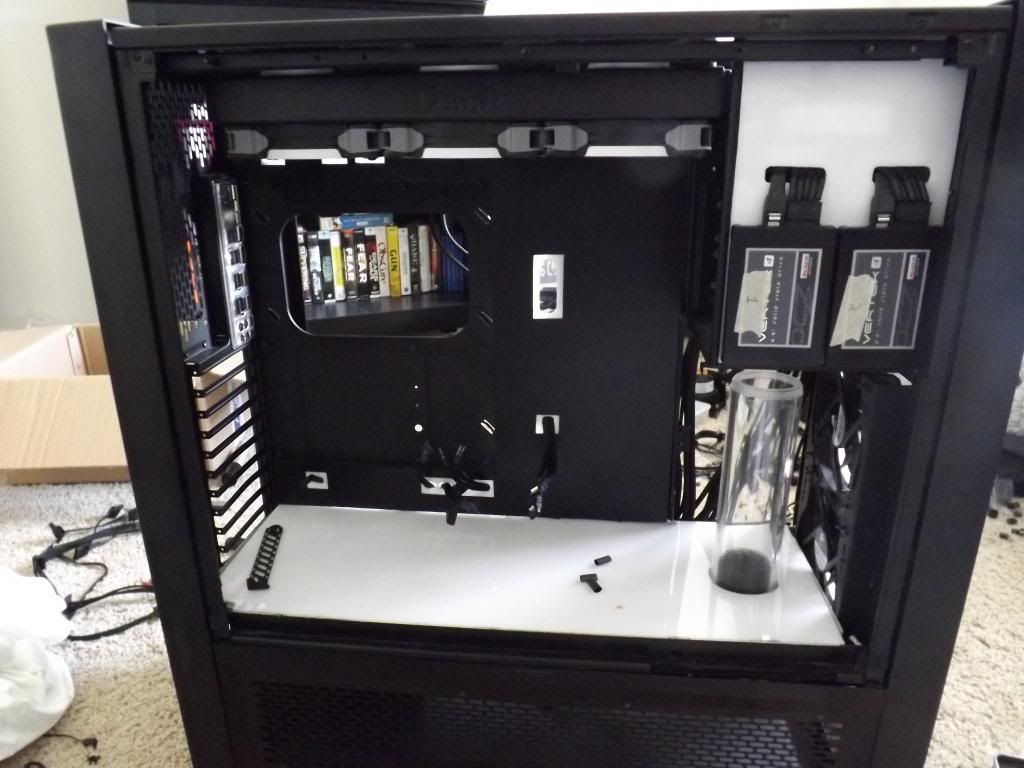
Installed
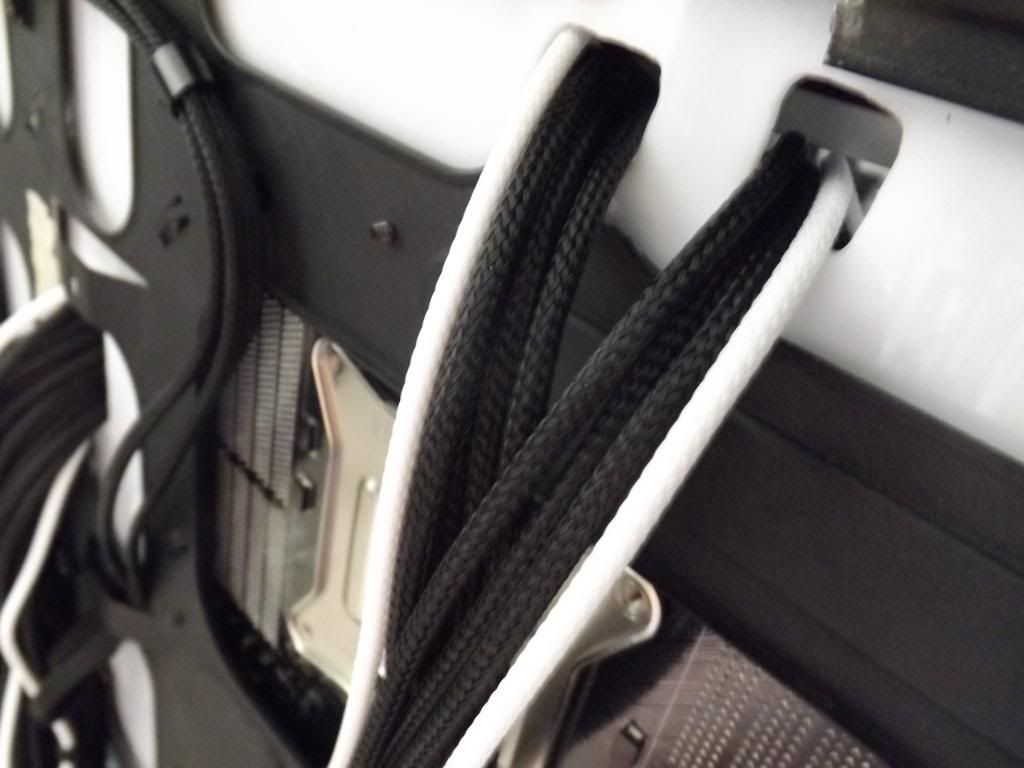
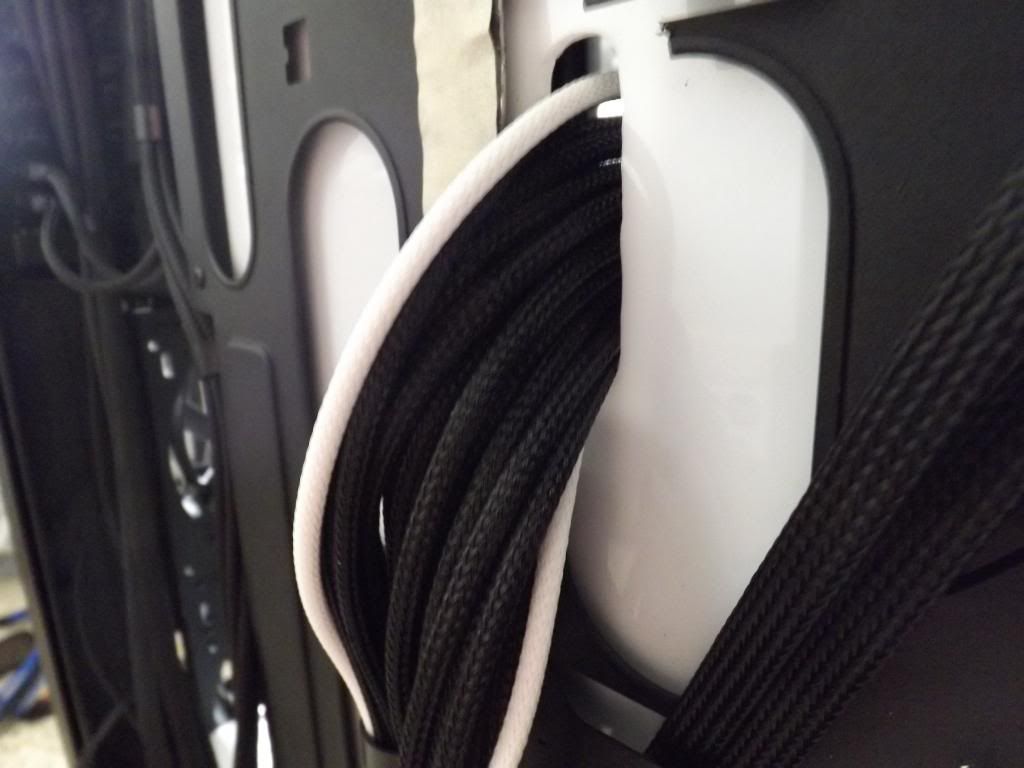
I also tackled most of the sleeving! i originally wanted to use heatshrink, as i think if you can pull it off perfectly it looks the best. but after many tries, my hat goes off to you all who use heatshrink, it is so hard to get a consistent and uniform look for it even with the tools!
so i went the shrinkless route
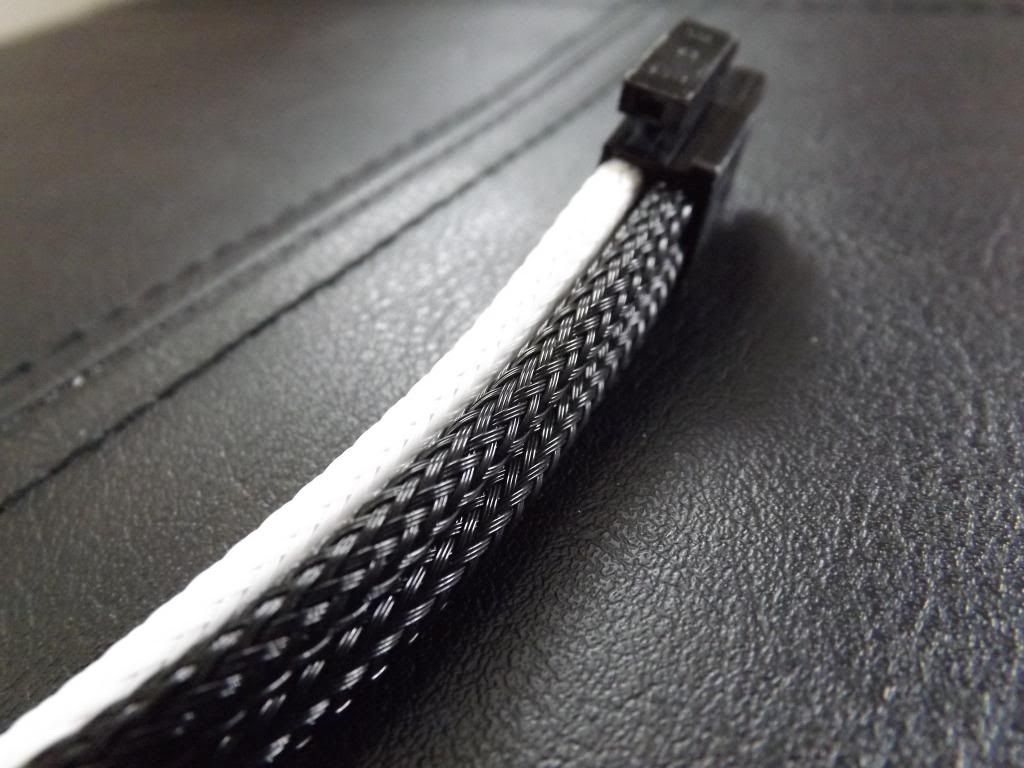
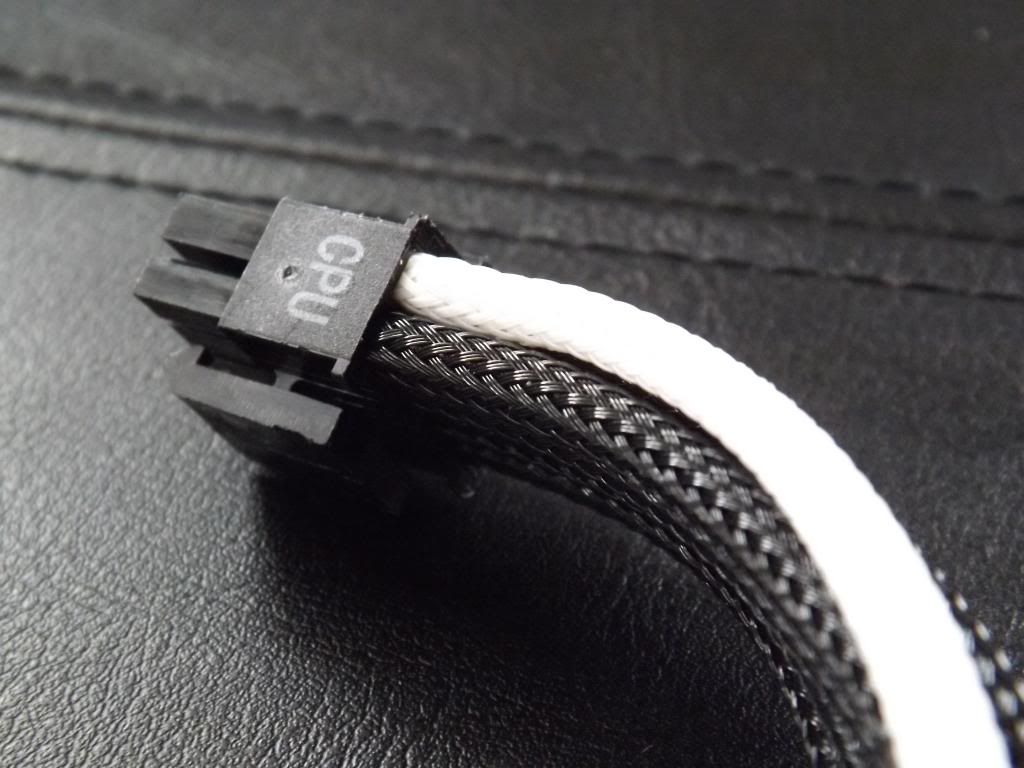
4 pin cpu
8 pin and 4 pin cpu together

24 pin
getting close!
[SPOILER=Warning: Spoiler!]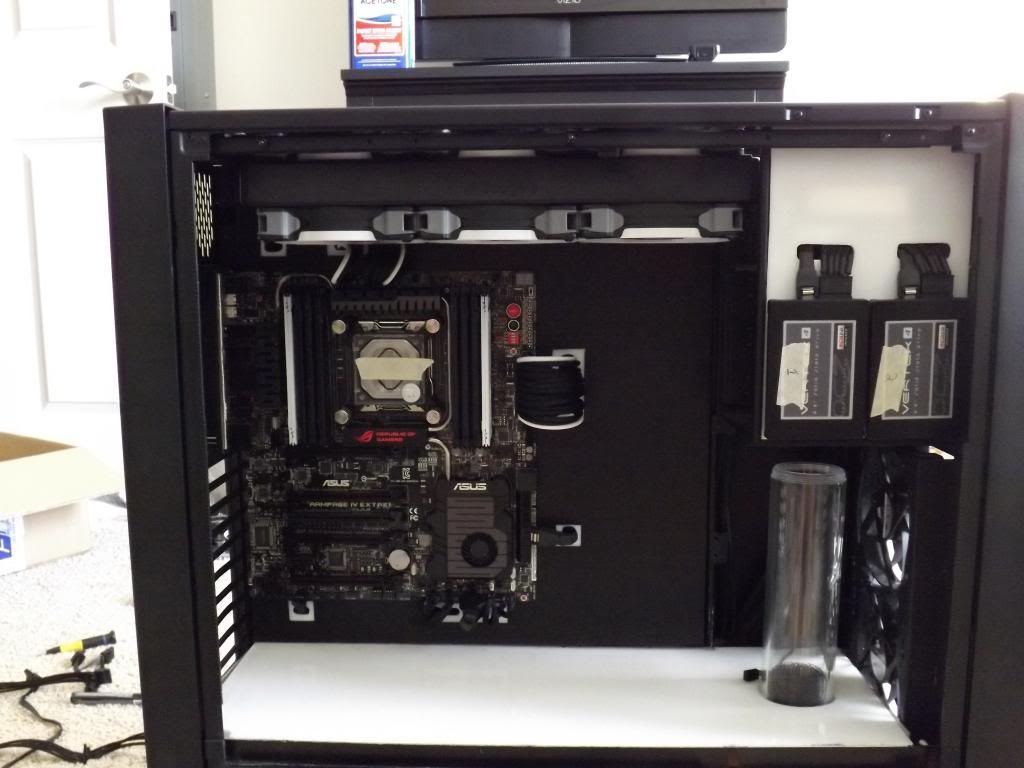 [/SPOILER]
and i leave you for now with some extra led panel bonus picks
and of course
things are starting to finally come together, i had a good bit of time this weekend to sit down and crank out the work!
First copied my template over to the white plexi and cut it out. i also marked and cut holes for the cables

Once that was complete, it was time to cut the black plexi piece, so i transferred the template over. and scored it

but when i went to snap it it broke :mad: :doh:

so now that piece is ruined. but not to fear i have an idea to get me close to where i wanted to be!
so i did some masking

and bought out my trusty friend PLASTI DIP!!! i love this stuff
tacked it up

layer 2

layer 3,4,5,6!

peeled the tape off, and there ya go! not exactly how i had it planned but until i take the measurements and what not for the black plexi piece, this will do.

oh in the mean time while the paint was drying, i decided to redo the ssd panel. the carbon got all dirty and i wasnt happy with the cuts

Installed

I also tackled most of the sleeving! i originally wanted to use heatshrink, as i think if you can pull it off perfectly it looks the best. but after many tries, my hat goes off to you all who use heatshrink, it is so hard to get a consistent and uniform look for it even with the tools!
so i went the shrinkless route
4 pin cpu

8 pin and 4 pin cpu together


24 pin

getting close!
[SPOILER=Warning: Spoiler!]
 [/SPOILER]
and i leave you for now with some extra led panel bonus picks


and of course

Options
- Mark as New
- Bookmark
- Subscribe
- Mute
- Subscribe to RSS Feed
- Permalink
06-17-2013 11:24 AM
Dude , nice. Its gonna be awesome..
4 GHz 4790K i7@ 4.6GHz (1.18v) , 16GB DDR3 1866 MHz Dominator GT , Asus Maximus VI Formula Motherboard , Cosair GT 240 GB ( Boot )
Obsidian Series 650D Mid-Tower Case , Asus GTX 680, LG Blu -Ray combo , Cosair HX 1000 PSU , Custom water loop.( EK and Rasa )
Obsidian Series 650D Mid-Tower Case , Asus GTX 680, LG Blu -Ray combo , Cosair HX 1000 PSU , Custom water loop.( EK and Rasa )
Options
- Mark as New
- Bookmark
- Subscribe
- Mute
- Subscribe to RSS Feed
- Permalink
06-18-2013 09:06 AM
ok small update
yesterday i wired up the fans for the quad rad. this seems like an easy task but holy smokes is it difficult with all black wires! it took me almost 2 hours to complete one side of the rad. of course i didnt get the wiring right on the first try so i had to desolder and then wire again. thankfully i got 3/4 right.
The second side took a little less time to complete and, this time i got it right! unfortunately i did a much better job on this side so now i had to redo the other side. and wouldnt you know, i'm out of the proper shrink ughhh so more of thats on the way and then ill take pictures of the finished product!
since i also miscalculated how many fittings i would need, i had to order those as well. nothing like spending 7 dollars in shipping for a 6 dollar fitting!
so in the mean time i decided to tackle the cable management of the back side. i love the clean wire management that many of you all implemented so i did my best at routing and securing.
heres all the wires from the front panel, the sata data and power. Also the pump wire, and the top rad wires. soooo many wires!
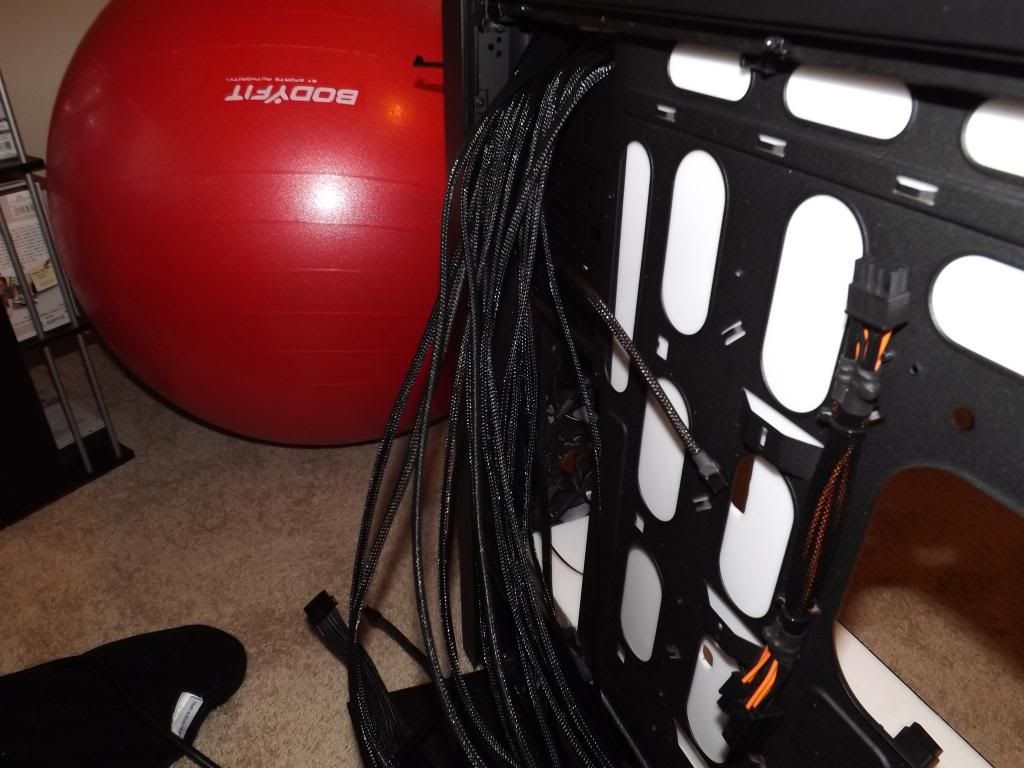
and after much manhandling heres how it looks now
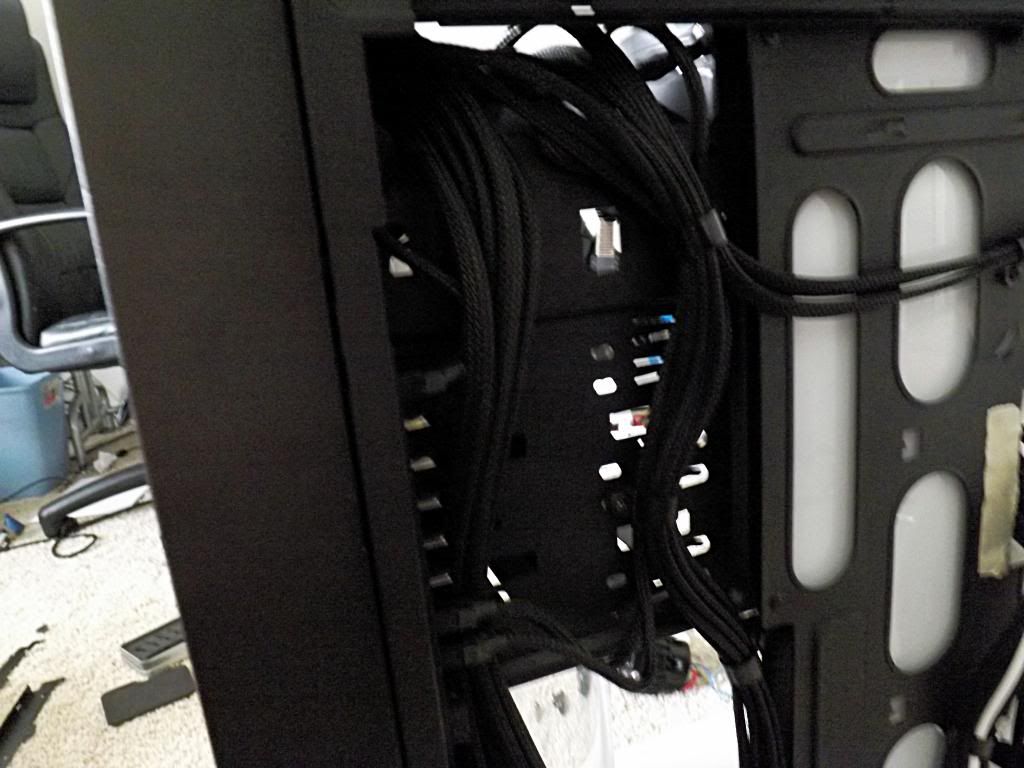
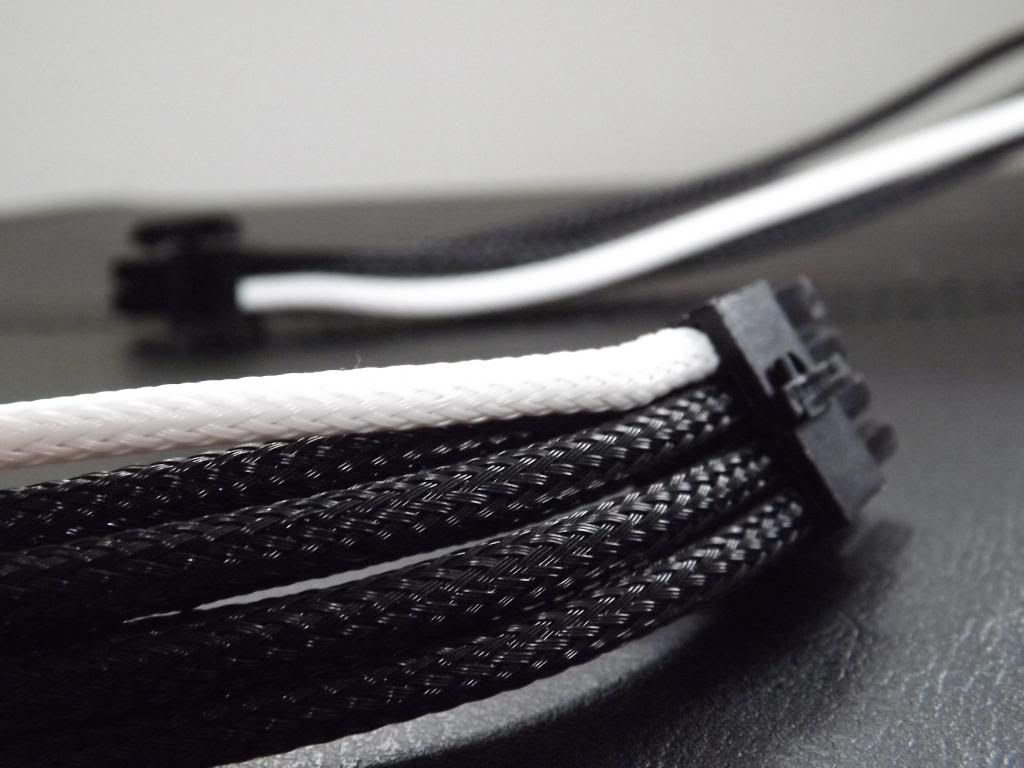
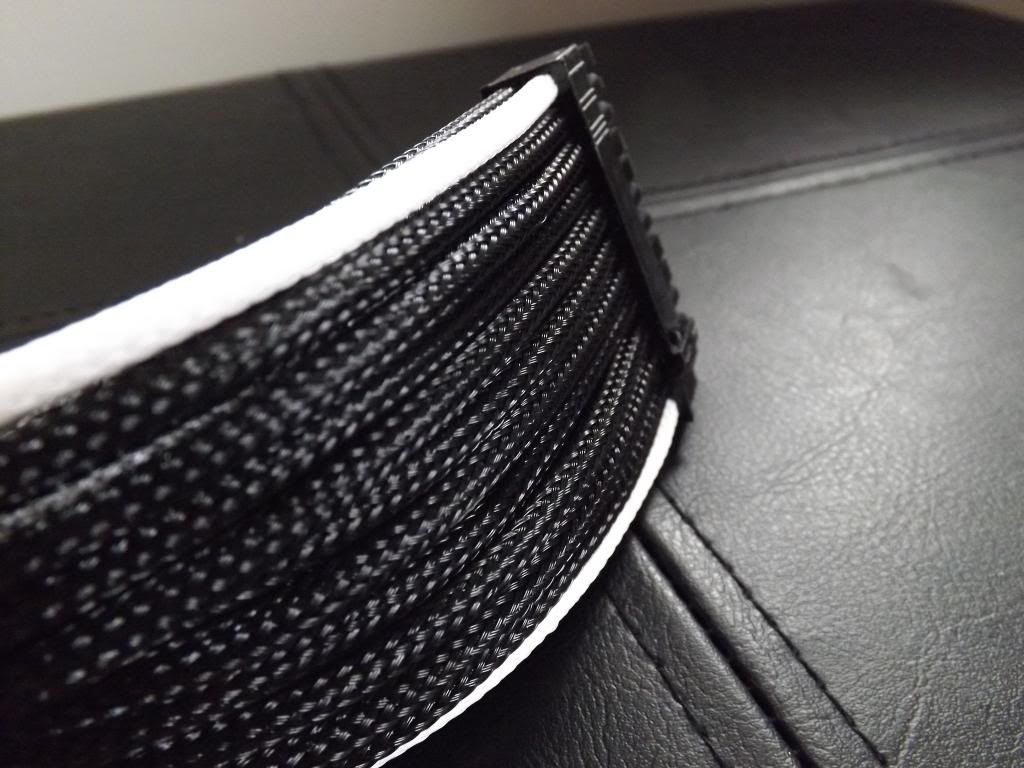
wide view of the front panel, sata, 24 pin, 4 and 8 pin cpu
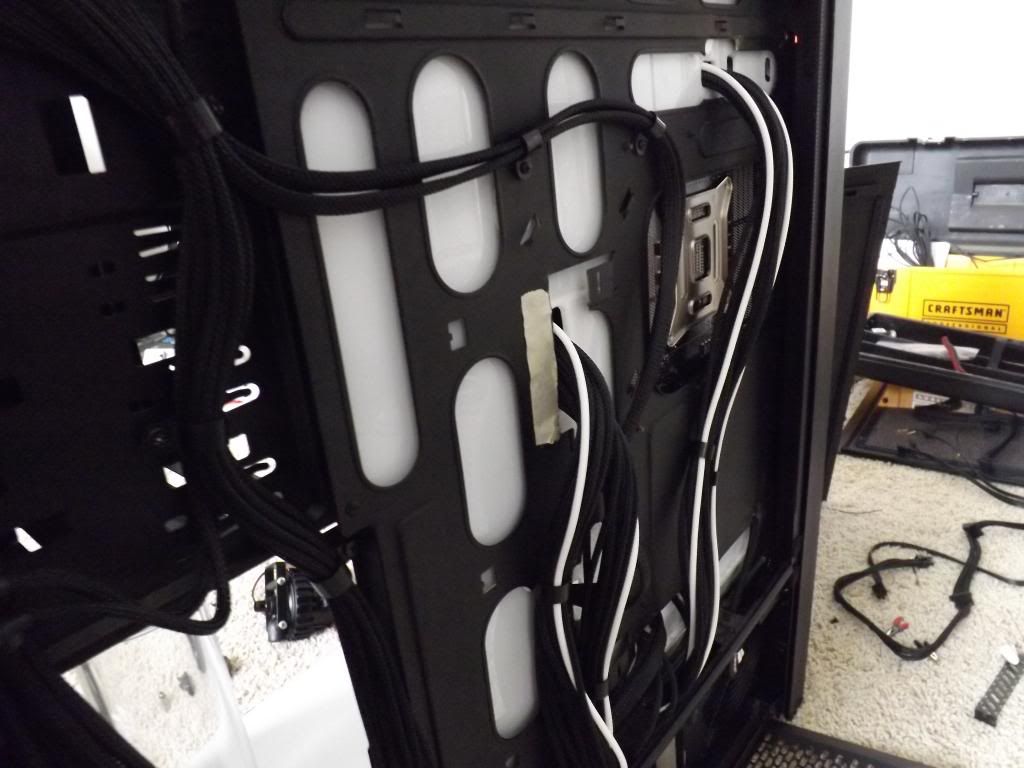
4 and 8 pin cpu
24 pin
Thats it for now!, until my fittings arrive im going to resleeve (again) the led panel wires. sleeve and possibly extend the front fan wires. sleeve and extend the rear fan wires. reshrink the front panel connectors.
thanks!
yesterday i wired up the fans for the quad rad. this seems like an easy task but holy smokes is it difficult with all black wires! it took me almost 2 hours to complete one side of the rad. of course i didnt get the wiring right on the first try so i had to desolder and then wire again. thankfully i got 3/4 right.
The second side took a little less time to complete and, this time i got it right! unfortunately i did a much better job on this side so now i had to redo the other side. and wouldnt you know, i'm out of the proper shrink ughhh so more of thats on the way and then ill take pictures of the finished product!
since i also miscalculated how many fittings i would need, i had to order those as well. nothing like spending 7 dollars in shipping for a 6 dollar fitting!
so in the mean time i decided to tackle the cable management of the back side. i love the clean wire management that many of you all implemented so i did my best at routing and securing.
heres all the wires from the front panel, the sata data and power. Also the pump wire, and the top rad wires. soooo many wires!

and after much manhandling heres how it looks now

wide view of the front panel, sata, 24 pin, 4 and 8 pin cpu

4 and 8 pin cpu

24 pin

Thats it for now!, until my fittings arrive im going to resleeve (again) the led panel wires. sleeve and possibly extend the front fan wires. sleeve and extend the rear fan wires. reshrink the front panel connectors.
thanks!
Options
- Mark as New
- Bookmark
- Subscribe
- Mute
- Subscribe to RSS Feed
- Permalink
06-19-2013 06:19 AM
Brilliant work man, loving it so far !

Options
- Mark as New
- Bookmark
- Subscribe
- Mute
- Subscribe to RSS Feed
- Permalink
06-19-2013 07:02 AM
LeviathanPT wrote:
Brilliant work man, loving it so far !
thanks man
Options
- Mark as New
- Bookmark
- Subscribe
- Mute
- Subscribe to RSS Feed
- Permalink
06-19-2013 07:05 AM
slowly getting there, realized that my fittings arent going to work. :mad: so i ordered compressions. if anyone wants to buy my bp 1/2" low profile fittings let me know. theyve only been installed not used.
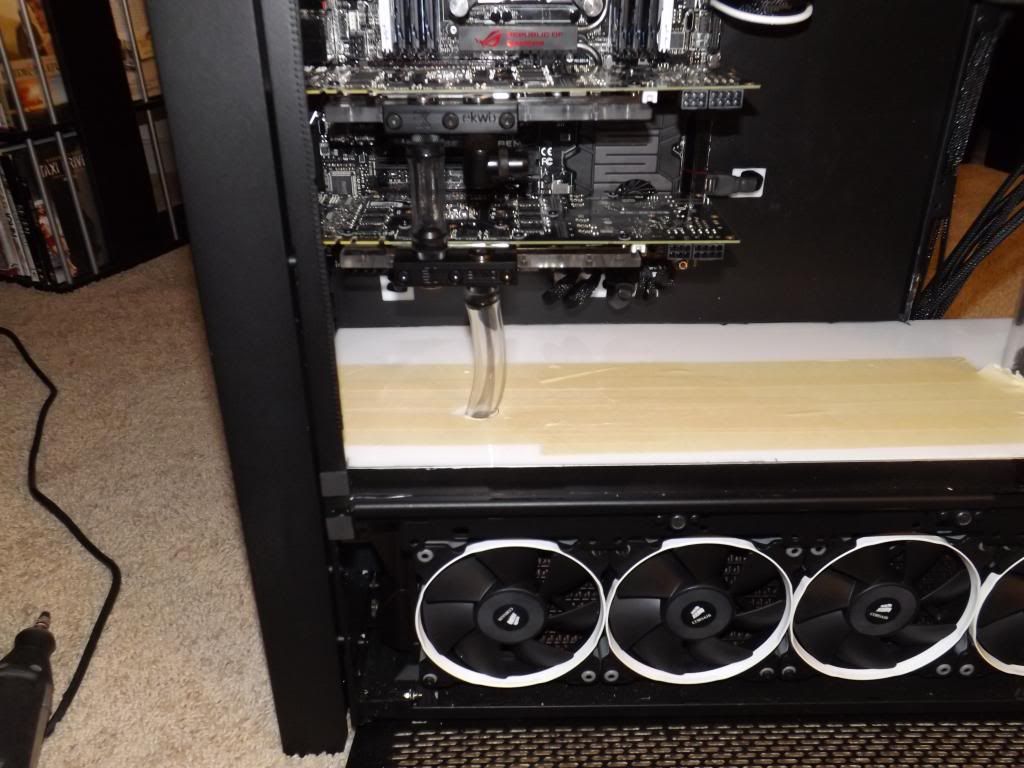
anyway, i tackled the first hole for the gpu water loop
masked off the area:
cant really see it but the titans are installed with fittings.
i marked where i wanted the hole and used one of my favorite bits!
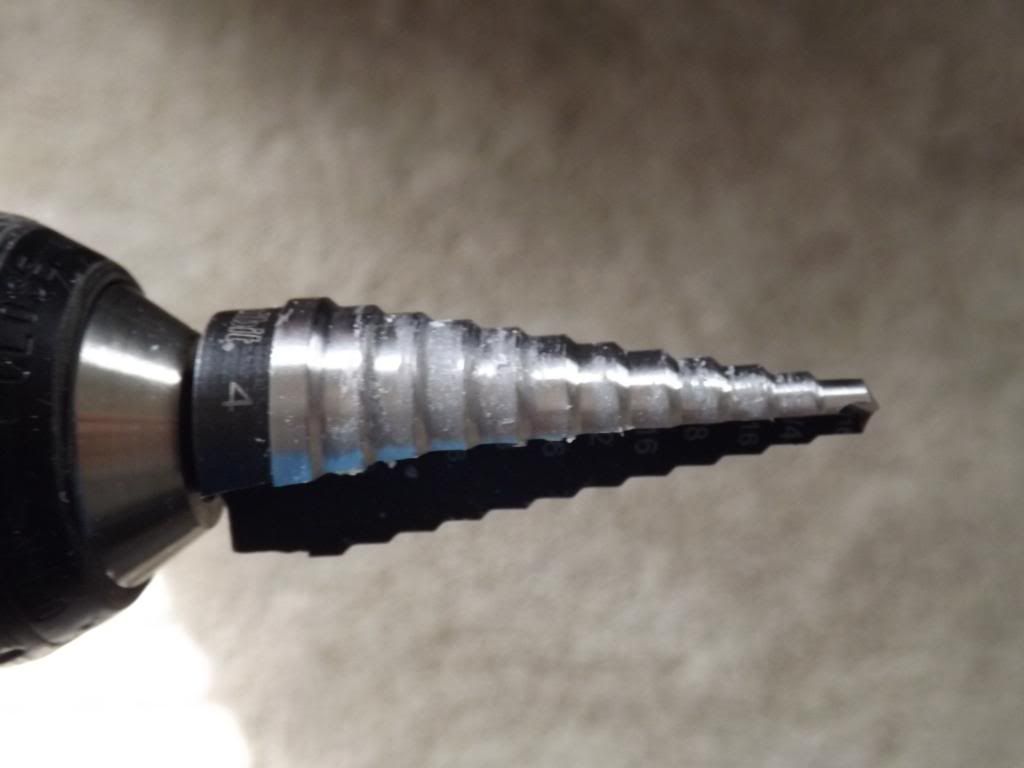
drilled through it to the proper diameter

installed tubes, i will keep working the tubes to get it straight since i have to take it apart anyways for the new fittings
anyway, i tackled the first hole for the gpu water loop
masked off the area:

cant really see it but the titans are installed with fittings.

i marked where i wanted the hole and used one of my favorite bits!

drilled through it to the proper diameter

installed tubes, i will keep working the tubes to get it straight since i have to take it apart anyways for the new fittings

Options
- Mark as New
- Bookmark
- Subscribe
- Mute
- Subscribe to RSS Feed
- Permalink
06-19-2013 07:09 AM
slowly getting there, realized that my fittings arent going to work. :mad: so i ordered compressions. if anyone wants to buy my bp 1/2" low profile fittings let me know. theyve only been installed not used.
anyway, i tackled the first hole for the gpu water loop
masked off the area:
cant really see it but the titans are installed with fittings.
i marked where i wanted the hole and used one of my favorite bits!
drilled through it to the proper diameter
installed tubes, i will keep working the tubes to get it straight since i have to take it apart anyways for the new fittings
Options
- Mark as New
- Bookmark
- Subscribe
- Mute
- Subscribe to RSS Feed
- Permalink
06-19-2013 08:16 AM
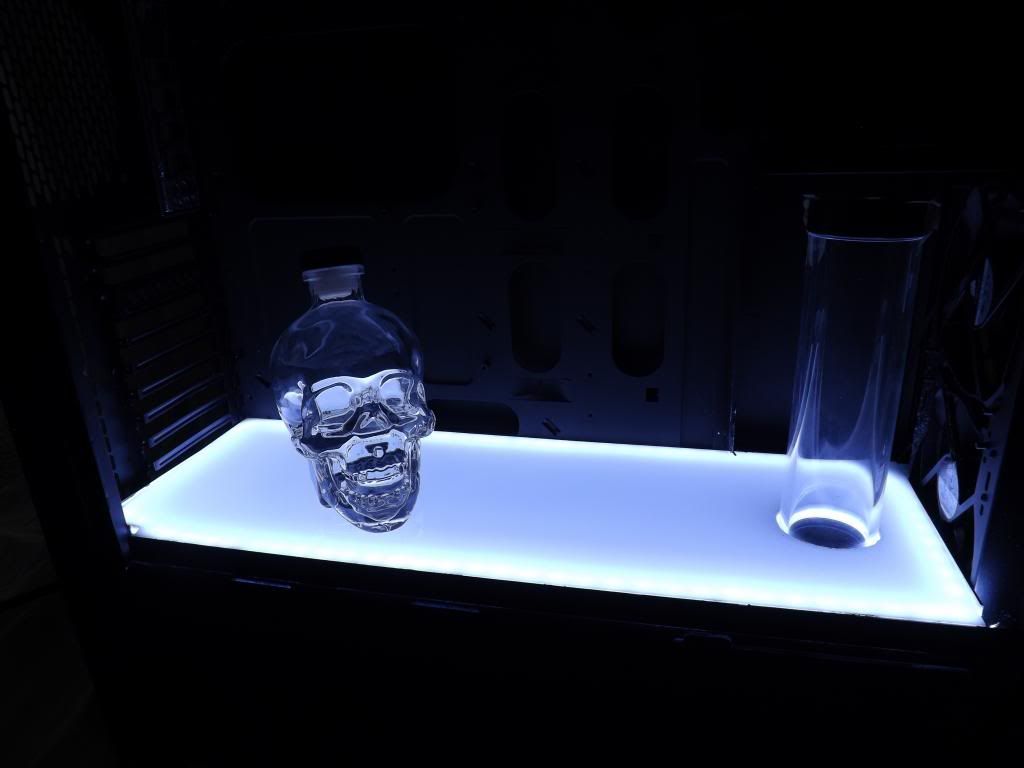
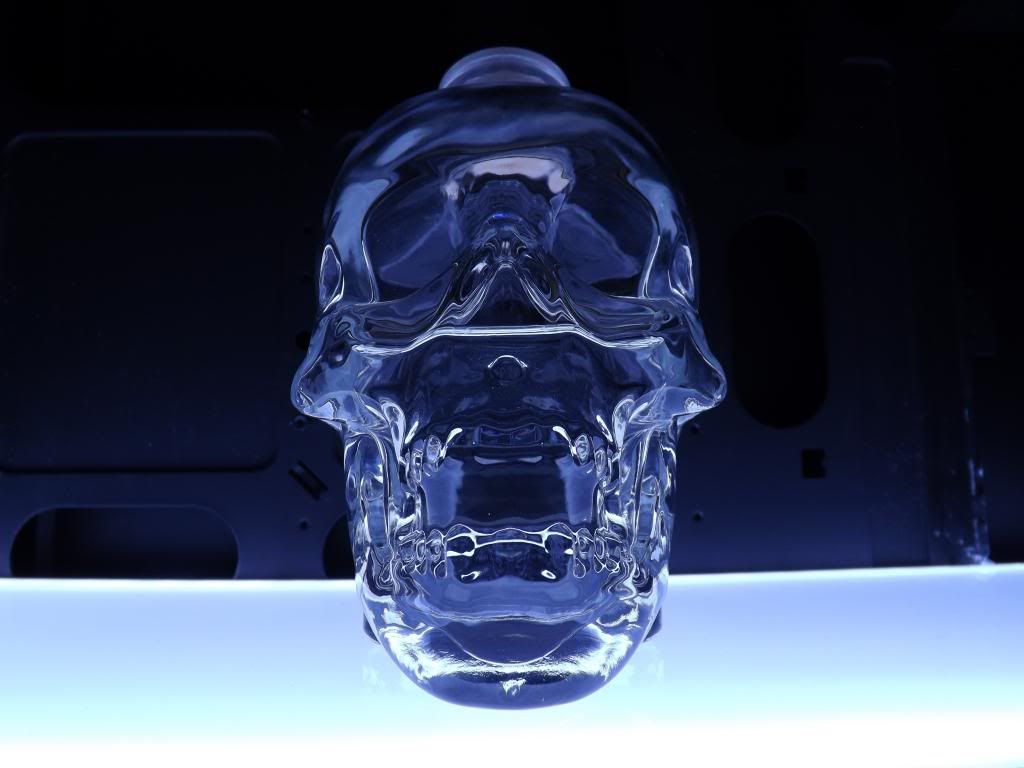
Awesome looking build so far. & I hope your new photography companion is working out--he's evidently a friend of mine. Please tell him Skull6 says "Hi!"
Oh, & I have to ask... Based on the 1st two pics you've posted...is Captain Morgan one of your sponsors?! 😉
Oh, & I have to ask... Based on the 1st two pics you've posted...is Captain Morgan one of your sponsors?! 😉
"If it moves, salute it. If it doesn't move, pick it up. & if you can't pick it up...paint it RED & BLACK !!"
G75VW-BBK5 {stock}

............ Macrium Reflect ..................Full G55VW/G75VW model list!
G75VW-BBK5 {stock}
............ Macrium Reflect ..................Full G55VW/G75VW model list!
Options
- Mark as New
- Bookmark
- Subscribe
- Mute
- Subscribe to RSS Feed
- Permalink
06-19-2013 11:07 AM
subbed! nice looking build man.
